
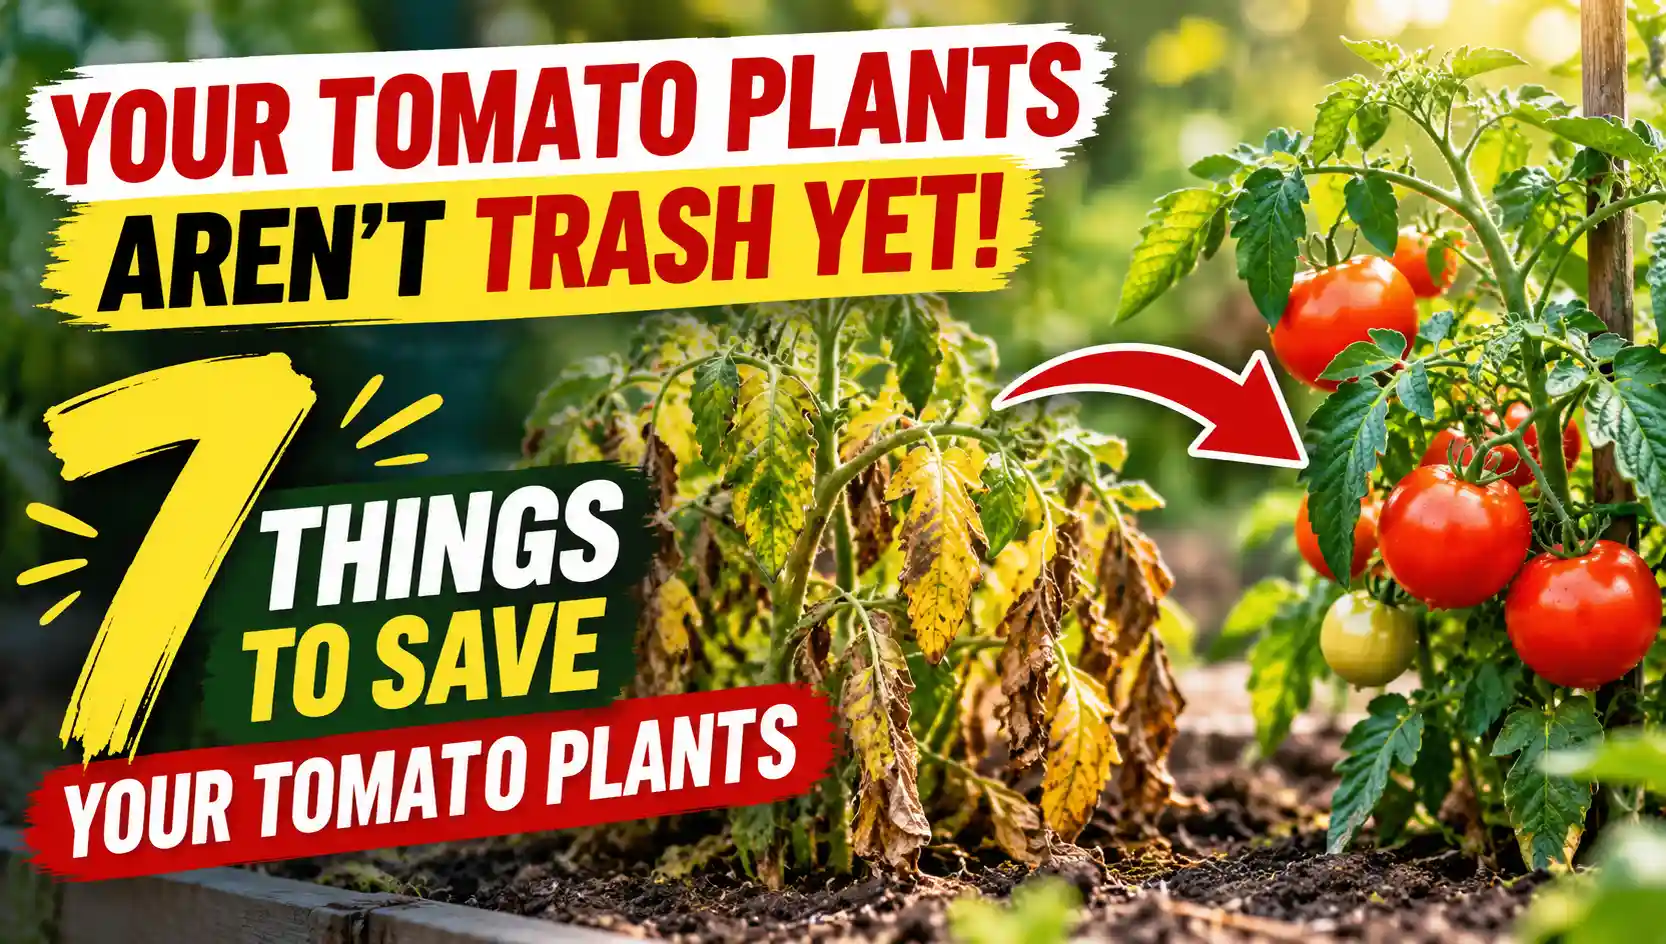
Most people yank their tomato plants in October and drag the whole mess to the curb.
That’s a mistake.
Those “dead” vines are holding three things you’re about to throw away: free seeds, free compost, and a warning about next year’s garden.
Here’s the thing you should know – a tomato plant at the end of the season isn’t finished working. It’s either a health risk you need to bag immediately, or a resource you’re about to waste. There’s no in-between.
I’ve pulled tomatoes the lazy way and the right way. The lazy way cost me a blight outbreak the following June that killed half my new transplants before July 4th. Once was enough.
1. Walk the Row Before You Touch Anything
Don’t pull a single plant until you’ve looked at every leaf, stem, and fruit.
This is the step people skip, and it’s the one that matters most.
Late blight (Phytophthora infestans) survives in plant debris. So do the bacterial diseases – bacterial spot and bacterial canker. Worst of all is mosaic virus, which can sit in dried plant matter for years and infect whatever you plant there next.
Here’s the problem: your backyard compost pile almost certainly can’t kill any of these. Home piles rarely hit the sustained heat a commercial facility reaches.
So the rule is simple. Healthy plant? Compost it. Anything with spots, lesions, wilting, or mottled leaves? Bag it and put it in the trash, not the pile.
Skip this check, and you’re not composting – you’re seeding next year’s disease outbreak yourself.
2. Save Seeds from your best plants (if they’re the right kind)
This only works on open-pollinated or heirloom varieties.
Hybrids – anything labeled F1 – won’t come true. Save seed from a hybrid and you’ll get a random mix of its parent genes next year. Could be fine. Could be nothing like what you grew. If you want a specific heirloom worth saving seed from, our Giant Belgium tomato guide walks through one of the better-known ones.
If you’ve got the right variety, here’s the actual process:
Pick your ripest, best-tasting fruit from your healthiest plant. Scoop the seeds and gel into a jar with a splash of water. Stir it twice a day for up to five days – yes, it’ll smell bad, that’s fermentation breaking down the germination-inhibiting gel coating. The good seeds sink. The bad ones float.
Pour off the floaters. Rinse the rest through a fine mesh strainer. Dry them on a coffee filter, not a paper towel – paper towels stick to wet seeds and you’ll tear half of them pulling it off.
Once a fingernail can’t dent a dried seed, it’s ready. Label the envelope with variety and date. Stored cool and dry, tomato seed keeps for about four years.
That’s four free growing seasons from fruit you already paid for.
3. Take cuttings before the first frost (optional, but worth it)
Had a variety you loved this year? You don’t have to wait until spring to grow it again.
Snip a few healthy side shoots, 3–4 inches long, with clean pruners. Drop the cut ends into a jar of water, 1–2 inches submerged, somewhere bright. Roots usually show up within a couple of weeks.
Once rooted, pot them up and give them all the light you’ve got. They’ll overwinter indoors and give you a head start come spring – a full-size plant before your neighbors have even started seeds.
One rule: only take cuttings from plants that showed zero disease symptoms all season. A cutting carries whatever the parent plant was carrying. Viruses especially.
4. Compost the healthy ones – but chop them first
Toss a whole tomato vine on the pile and it’ll still be there, intact, next spring.
Chop stems and leaves into 8–12 inch pieces before they go in. Smaller pieces break down faster – this isn’t optional if you want usable compost by planting season.
Strip off any leftover fruit before chopping. Tomato seeds survive a backyard compost pile more often than you’d think, and you’ll get surprise volunteer plants popping up wherever you spread that compost next year.
Layer the chopped vines with dry material – leaves, straw, cardboard. Green plant matter alone just turns into a wet, smelly mat.
Not 100% sure a plant was healthy? Use that batch of compost somewhere tomatoes won’t grow. Better safe than reinfecting next year’s bed.
5. Decide what to do with the roots
For plants that stayed healthy all season: leave the roots in the ground. Cut the stem at the soil line and walk away. The roots break down in place and add organic matter without disturbing the soil structure.
For anything that wilted, stunted, or yellowed for no obvious reason: dig it up. Use a spading fork to loosen the root ball and check for small knotty swellings – that’s root-knot nematode damage, and it needs to come out of the garden entirely.
Same goes for Fusarium wilt, which can persist in soil for years once it’s established. If you see it, remove the whole root system and don’t replant that spot with tomatoes anytime soon.
Containers get the same check. Tip the root ball out and inspect it the same way you would a bed.
6. Clean your cages and stakes like you mean it
Disease doesn’t just live in soil and plant matter. It rides home on your equipment.
Bacterial canker survives on stakes. Mosaic virus can last weeks to months on cages and trellises. If you store contaminated equipment and reuse it next spring, you’ve just reinfected a brand new crop.
The process: knock off loose dirt, then scrub or hose everything down. Soil blocks disinfectant from working, so skipping this step wastes the next one.
Then soak fully in a 10% bleach solution – 1 part bleach to 9 parts water – for at least 20 minutes. Prefer something gentler? A hydrogen peroxide-based product labeled for hard, nonporous surfaces works on metal cages and tools.
Wooden stakes are the exception. Bacteria hides in the grain where bleach can’t reach it. If a wooden stake held a canker-infected plant, don’t try to save it – replace it.
7. Put the bed to work over winter
Bare soil through winter is wasted time.
Winter rye is cold-tolerant and still worth sowing in mid-October in a lot of climates, as long as you get it down at least four weeks before a hard freeze sets in. Come spring, mow it before it sets seed, then turn it under two to four weeks before planting.
Missed that window? Spread compost instead, or blanket the bed with shredded leaves.
Compost isn’t your only soil booster, either – see our breakdown of using coffee grounds for tomatoes if you want a free amendment most gardeners are already throwing away.
And whatever you do – don’t plant tomatoes in that exact spot next year. Rotate tomatoes, peppers, eggplant, and potatoes out of a bed for three to four years. They’re all nightshades, they all attract the same pests, and they all carry the same soil-borne diseases.
Containers follow the same logic. Reuse potting mix only if the plant was fully healthy. For anything questionable, dump it and replace at least the top 6 inches with fresh mix.
Where to start
You don’t need to do all seven things in one afternoon. But you do need to do them in order – disease check first, always.
This week:
- Walk every plant and sort healthy from diseased before you pull anything.
- Bag and trash anything diseased. Don’t compost it, don’t hesitate.
- From your healthiest heirloom plants, save seed from two or three of the best fruits.
- Chop and compost everything healthy.
- Scrub and bleach-soak your cages before they go into storage.
- Pick a new spot for next year’s tomatoes – and sow winter rye or spread compost on this one.
Your tomato plants did their job all summer. Give them one more afternoon before they go.