
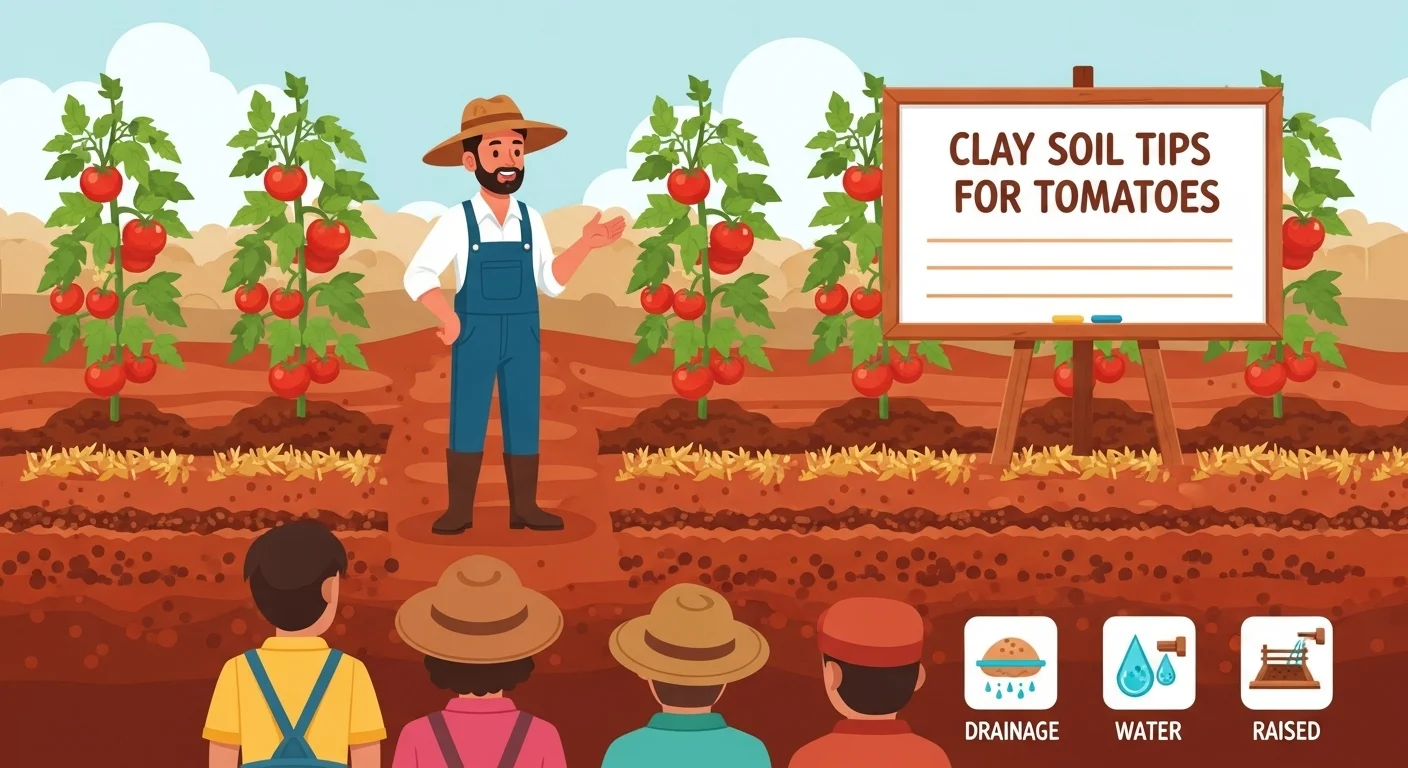
Clay soil is heavy and dense, with tiny particles that cling together. It drains slowly and compacts easily, which can make it hard for tomato roots to grow.
For example, a gardening expert notes that wet clay “forms slimy clumps” and dry clay compacts into hard blocks. These conditions can trap seedlings or stop roots from finding water.
On the plus side, clay often contains plenty of nutrients. It is “chock-full of valuable nutrients” that can make tomatoes productive once the soil is managed, properly. In summary, key features of clay soil are:
- High water retention: A heavy clay holds more moisture than sandy soil (1″ of water penetrates only ~6″ in clay, vs ~10″ in sand).
- Nutrient-rich: Clay often contains abundant nutrients, but they may be locked up without amendments.
- Poor drainage and compaction: Unamended clay can stay waterlogged and harden, so it needs improvement before planting.
Preparing Clay Soil for Tomatoes
Good soil preparation pays off. Start with a soil test (tomatoes prefer pH ~6.0–6.8) and adjust if needed (lime raises pH, sulfur lowers it). Next, add lots of organic matter: work in 2–3 inches of compost (or aged manure) across the top 6–9 inches of soil.
This will “lighten up” heavy clay and improve drainage. For example, NC State Extension recommends exactly that: 2–3″ of compost mixed into each foot of clay soil.
Some gardeners even dig out large planting holes at transplant time and refill them with a rich mix of topsoil, compost, and manure, giving tomato roots a better start.
Always avoid working clay when it’s very wet, since digging wet clay only makes it compact more. Key soil-prep steps include:
- Mix in 2–3 inches of compost or well-rotted manure to the top foot of clay soil.
- Test and adjust soil pH (aim for 6.0–6.8 for tomatoes).
- Use a broad fork or shovel to gently break up the clay; avoid heavy tilling that can make clay harder later.
- Dig each planting hole deep and backfill with a mix of topsoil, compost and amendments for a loose root zone.
- Apply a 3–4″ layer of organic mulch (straw, shredded leaves, grass clippings) after planting to retain moisture and suppress weeds.
Improving Drainage and Soil Structure
Good drainage is vital in clay soil. One solution is raised beds or large containers. Build a raised bed atop the clay and fill it with a blend of garden soil, compost and peat.
This way tomato roots grow in the loose mix and only later reach the clay below. Another strategy is mounding: plant tomatoes on small soil mounds or ridges 2–4 inches above the ground.
This elevates the root zone above trapped water, helping prevent root rot. In all cases, use plenty of mulch – a 3–4″ cover of straw or shredded leaves will retain moisture, suppress weeds, and gradually add organic matter as it decomposes.
Over time, consider growing cover crops (like clover or vetch) in a winter or fallow period; these plants naturally loosen heavy soil and add fertility when turned under. Drainage tips at a glance:
- Grow tomatoes in raised beds or containers on top of the clay.
- Plant on raised soil mounds or ridges above ground level.
- Mulch heavily with organic material to protect the soil and improve it over time.
- Use cover crops in off-season to break up clay and add organic matter.
Planting and Watering Practices
Timing: Transplant tomato seedlings only after the soil has warmed in spring (often late May in cooler areas).
You can plant deeply by burying part of the stem (removing lower leaves) to encourage extra root growth. Space plants about 2–3 feet apart for good airflow.
Watering: Clay holds water, so water deeply but less often. At planting, soak the soil 6–8 inches down at each plant.
Then water roughly every 5–7 days in dry weather (about once a week), adjusting if heavy rain has filled the soil. Use drip irrigation or soaker hoses to deliver water right to the roots and keep foliage dry.
Drip systems are particularly effective in clay soil because they provide slow, steady moisture that penetrates deeply without causing surface runoff or waterlogging. For a complete setup guide, see the article on drip irrigation for tomato plants with easy DIY tips.
Avoid overhead sprinklers, since wet leaves and splashing soil can spread disease. As the weather warms, mulch the bed (if not done already) to help even out moisture and protect the soil surface. Planting and watering checklist:
- Transplant after danger of frost and when soil is at least ~60°F.
- Bury the stem deeply and pinch off early blossoms to focus energy on roots.
- Water at soil level, soaking 6–8″ deep each time.
- Because clay stays moist longer, water about once a week (or every 5–7 days) rather than daily.
- Mulch after planting to conserve moisture and prevent soil splash.
Best Practices for Tomato Care in Clay
- Once your tomatoes are growing, careful maintenance pays off. Prune and stake: Remove any leaves or fruit touching the soil to prevent diseases. Stake or cage plants when small, limiting vines to 2–3 main stems and tying them loosely to strong supports. This keeps fruit off the ground and improves air flow.
- Fertilize smartly: Rely on your soil test. Clay soils are often fertile, but tomatoes typically benefit from extra phosphorus at fruiting time. You might add a bit of bone meal or rock phosphate at planting if needed.
- Prevent disease: Keep plants spaced well and remove suckers (side shoots) to improve airflow. Water in the morning so foliage dries out, and consider rotating the crop.
- Crop rotation: Don’t plant tomatoes (or other nightshade crops like peppers/eggplants) in the same spot each year. Experts recommend moving tomatoes to a different bed for 2–3 years to break disease cycles.
Ongoing care summary:
- Remove low leaves and prune diseased growth.
- Stake or cage plants, focusing growth on a few strong stems.
- Apply fertilizer based on soil needs; consider phosphorus boost if required.
- Rotate tomato location each season to reduce soil pathogens.
Conclusion
Clay soil can be challenging, but it isn’t hopeless. By improving the soil and caring for plants well, even heavy clay can yield a great tomato crop.
In practice, adding plenty of compost and organic mulch makes a dramatic difference. Keep the soil loose (avoid walking or tilling wet clay), manage water carefully, and follow good tomato practices.
As one extension bulletin notes, clay “can be improved by working in 2 to 3 inches of compost”, and experienced gardeners confirm that well-amended clay produces productive plants. With these proven tips, your clay soil can yield a bountiful tomato harvest.