
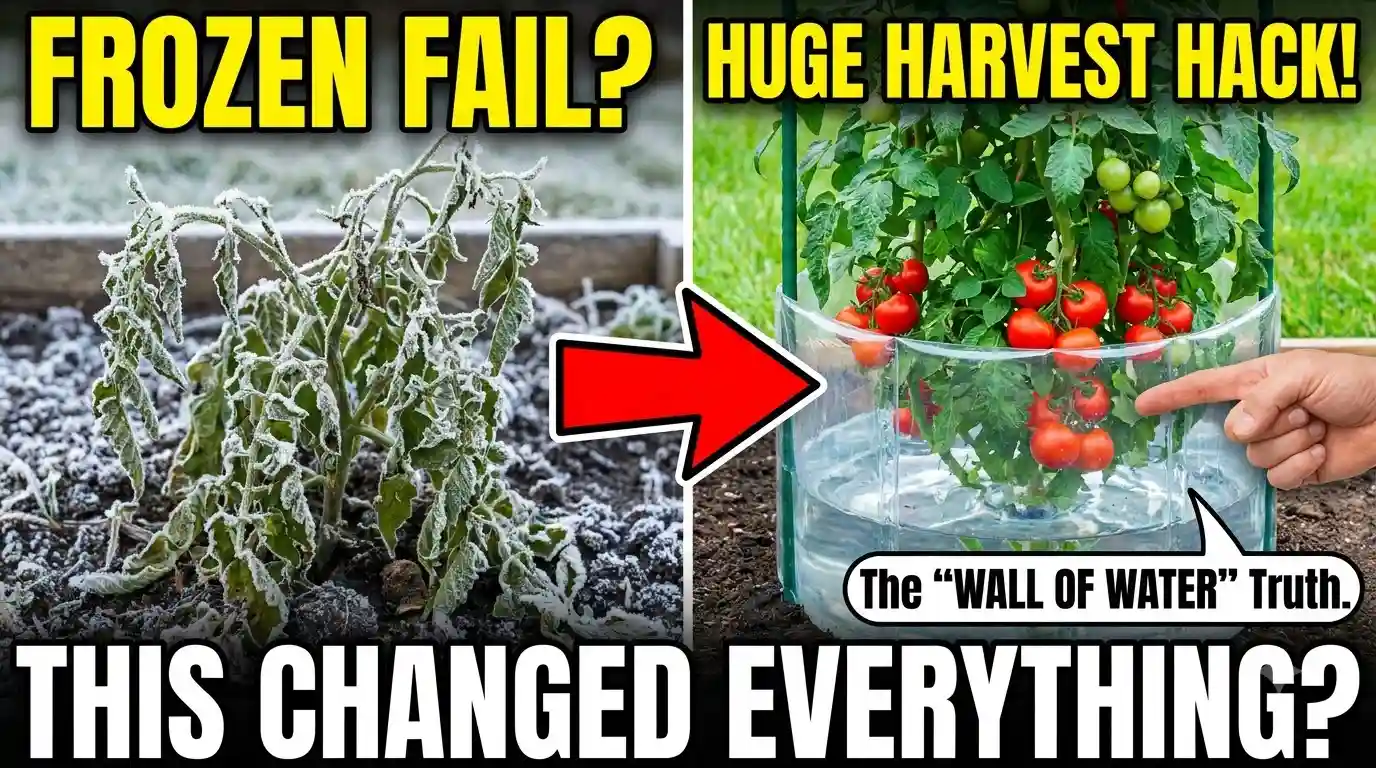
Most gardeners plant tomatoes too late. They wait for the “safe” date, watch neighbors harvest three weeks earlier, and wonder what they’re missing.
Walls of Water can get tomatoes in the ground 4-6 weeks before last frost. Some gardeners plant in March. In zone 5.
Here’s the catch: it only works if you set it up right. Get it wrong and you’ll cook your seedlings or watch them freeze anyway. Let’s break down what actually happens inside one of these things.
1. What Is a Wall of Water?
Picture a plastic teepee made of connected tubes. You fill each tube with water, stand it around your seedling, and the water acts as thermal mass. Sun heats the water during the day. Water releases that heat slowly at night.
Think of it like a tiny greenhouse with a battery built in. Air-only cold frames lose heat fast once the sun sets. Water holds heat for hours.
That’s the whole mechanism. Simple physics, not magic.
2. Old Way vs. New Way
Old way: wait until your last frost date, plant, hope for no late cold snap. If frost hits anyway, cover everything with sheets and pray. Miss a night and you lose the whole crop.
New way: set up a Wall of Water in early spring, plant while there’s still frost risk, and let the water buffer the swings.
If you want more ways to steal a head start on the season, our guide on getting tomatoes six weeks sooner covers other early-planting tricks that pair well with this one.
I’ve seen gardeners in Minnesota plant tomatoes on April 20th – a full month before their official frost-free date – and pull it off.
The difference isn’t luck. It’s stored thermal energy doing the work while you sleep.
3. How to Set One Up
- Fill the tubes with water two days before you plant, so the water has time to warm up.
- Set the Wall of Water directly over where your seedling will go, forming a closed cone at the top.
- Cut an X in the soil, plant your seedling inside, close the teepee tightly.
- Leave the top pinched closed until nighttime temps consistently stay above 40°F.
- Once the plant outgrows the water walls (usually 3-4 weeks), remove them.
Don’t rush step 4 – that’s where most people fail. One grower’s step-by-step setup routine walks through exactly how she times the fill and the plant-in, if you want a second set of eyes on the process.
4. What It’s Actually Good At
Frost protection down to 16°F. That’s not a typo. Manufacturers claim it, and multiple university extension trials back numbers close to it.
It also buffers wind. Young tomato seedlings hate wind more than people think – it dries them out and stunts growth. A Wall of Water blocks that completely.
And it speeds up root development. Warmer soil early means the plant is establishing a root system while your neighbor’s seedling is still sitting in a seed tray.
Early planting. Frost buffer. Wind block. Faster roots. That’s four wins from one $15 product.
5. Where It Loses
Here’s the honest part.
If you forget to pinch the top closed on a hot afternoon, the inside can hit 100°F+ and cook your plant. Yes, really. I’ve killed a seedling this way – left the top open on what I thought was a mild day, temps spiked, and by evening the leaves were crisp.
It also doesn’t work great in consistently windy, exposed sites – the tubes can tip if not staked. And once your tomato grows past the water walls, you still need frost cloth or row cover as backup for any late surprise freeze. The Wall of Water isn’t a full season solution – it’s a head start tool.
One rundown on the downsides of wall of water plant protectors also points out it can block enough light to cause spindly growth if left on too long – worth knowing before you commit.
One more thing: it’s fiddly. Filling 18 tubes with a hose in cold wind isn’t fun. Budget 20 minutes per plant the first time.
Where to Start
Buy one Wall of Water. Not twelve – one. Set it up on your earliest, most protected seedling and watch what happens over two weeks.
If you’re already comfortable stretching your season, our post on growing tomatoes indoors through winter is a natural next step once outdoor frost risk is behind you.
If it survives a 20°F night while your unprotected plants outside wouldn’t have, you’ll understand why gardeners swear by these things.
Plant earlier. Harvest earlier. That’s the whole pitch – and it holds up.