There’s something rather melancholy about clearing out the greenhouse at the end of summer.
After months of caring for your greenhouse tomatoes, it’s time to get ready for the next growing cycle.
As I clear out the last of the vines and clean up the debris, I can’t help but think about the highs and lows of the past months.
This year, I grew the best ‘Sungold’ cherry tomatoes ever — sweet and abundant.
But I also faced some setbacks: the ‘Brandywine‘ plants barely produced, and I lost an entire row of seedlings when I forgot to water them one August weekend.
Yet there’s something wonderfully hopeful about this annual ritual too. Those final tomatoes still clinging to the vines aren’t just the end of the season—they’re the beginning of next year’s crop. And that’s where seed saving comes in.
Why Bother Saving Your Own Seeds?
For years, I didn’t save my own tomato seeds. I thought it was too complicated and that I needed special conditions to do it right.
Then I realized how easy it actually is, and I’ve never looked back.
First, saving seeds saves you money. A packet of heritage tomato seeds costs around ₹350-₹380 or more. If you grow a few types, it adds up fast. When you save your own seeds, you get them for free every year.
Second, saving seeds is eco-friendly. You don’t have packaging waste or delivery miles. You know your seeds come from plants you grew yourself, using organic methods and peat-free compost.
There’s a real joy in completing that circle: from seed to plant to fruit to seed, all at home.
And the best part? You can grow your favorite varieties again. That delicious, sun-kissed tomato? The one that kept producing until October? Save those seeds, and you can enjoy them forever.
The No-Faff Method
If you’ve ever researched seed saving, you’ve likely come across complex methods with fermentation jars, daily stirring, mold control, and detailed rinsing steps. All terribly scientific, I’m sure, but honestly? Life’s too short.
I use what I call the kitchen towel method, and it requires nothing more complicated than what you’d use to make a sandwich. No fermentation, no fuss, no mysterious fungal processes. Just a ripe tomato and five minutes of your time.
Here’s how it’s done:
Step 1: Choose Your Champion Tomato
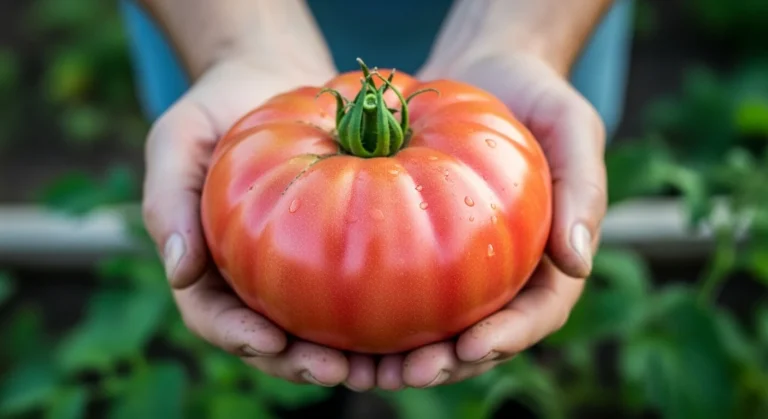
Walk through your greenhouse or garden and select the variety you absolutely must grow again next year. Find the ripest tomato you can—it should be deeply colored, slightly soft to the touch, and practically begging to be picked.
This is important: underripe tomatoes produce immature seeds that won’t germinate reliably.
Step 2: Set Up Your Drying Station
Head to the kitchen and gather your supplies: a sharp knife, a teaspoon, and a sheet of kitchen towel.
Fold the kitchen towel in half and lay it on a plate or in a clean takeaway container. Anything flat will do—I’ve used saucers, baking trays, even an old Tupperware lid.
Step 3: Halve Your Tomato
Cut your tomato in half. You can cut your fruit however you prefer, but I find slicing it in half makes it easier to access the seeds inside.
Step 4: Scoop Out the Seeds
Use your teaspoon to scoop out all the gel-covered seeds and pulp you can manage. Some varieties, like cherry tomatoes, are full of seeds, while others, especially plum types, have fewer. Just get what you can. Don’t worry about being too precise; a few bits of tomato flesh won’t hurt anything.
Step 5: Spread the Seeds
Now for the slightly fiddly bit: use the back of your teaspoon to spread the jelly-like seed mixture across the kitchen towel. Try to space the seeds out a bit—roughly a centimeter apart if you can manage it.
They don’t need to be arranged perfectly (I never do), but giving them some space makes it easier to plant them next spring.
Step 6: The Waiting Game
Place your seedy kitchen towel somewhere warm and sunny—a windowsill is perfect. Then leave it alone for about two weeks.
The tomato gel will gradually dry and disappear, and the seeds will stick themselves firmly to the kitchen towel. You’ll know they’re ready when everything feels completely dry and papery to the touch.
Step 7: Store for Winter
Once thoroughly dry, there’s no need to peel the seeds off the towel (in fact, don’t—you’ll just make work for yourself). Simply fold up the kitchen towel, seeds and all, and tuck it into a paper envelope.
Write the variety name and the date on the front—trust me, by February you won’t remember which envelope contains which variety, no matter how convinced you are now that you’ll never forget.
Store your envelopes somewhere cool and dry. I keep mine in a biscuit tin in the shed, but a drawer in a cool room works just as well. Avoid anywhere damp or warm, as that can reduce germination rates.
Step 8: Sow in Spring
When February or March rolls around, and you’re itching to start the new season, simply fill a seed tray with seed compost (half-sized trays are ideal, or reuse a takeaway container with drainage holes punched in the bottom).
Lay your kitchen towel with its attached seeds directly on top of the compost, then cover with another thin layer of compost and water gently.
Pop the tray into a propagator or onto a sunny windowsill, and within about two weeks you should see tiny seedlings emerging.
Once they’ve developed their first true leaves, you can prick them out and pot them on individually, just as you would with shop-bought seeds.
A Final Word
I won’t pretend that every single seed will germinate—nothing in gardening comes with guarantees.
But in my experience, this simple method gives germination rates every bit as good as the fancy fermentation technique, and it takes a fraction of the time.
Last spring, I sowed seeds I’d saved using this method and ended up with more tomato plants than I knew what to do with. I gave away dozens of seedlings to neighbors and still had a greenhouse bursting with plants.
This year, I’m already eyeing up the last fruits on my ‘Black Krim’ vines, planning next summer’s crop.
So go on—save a few seeds. Your future self (and your wallet) will thank you for it.


Leave a Comment